Outside Class A CDL Pre-Trip Inspection
The Federal Motor Carrier Safety Administration (FMCSA) requires drivers to complete a pre-trip inspection before every haul. The driver must confirm that all parts are in good working order. If any part fails inspection, the vehicle must be repaired before it can be driven.
Pre-trip inspections exist because trucks are massive vehicles. A minor issue on a truck is not like a minor issue on a car. A flat tire on an 18-wheeler can cause a multi-car pileup. Debris falling from a trailer at highway speeds can be fatal to other drivers.
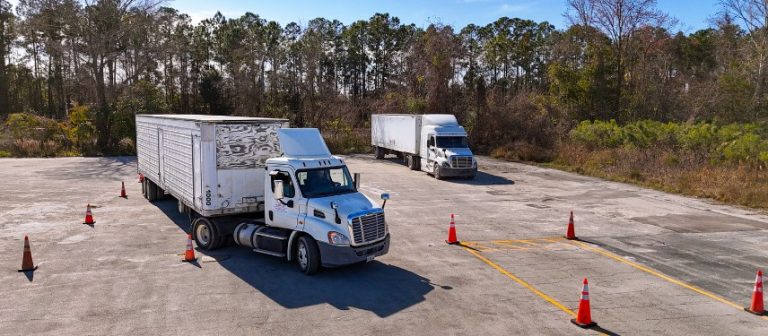
For CDL candidates, the pre-trip inspection is also a required part of the skills test. The video below walks through the full outside inspection. The sections that follow break down each area in detail.
What to Know Before Starting
Three rules apply to every part of the inspection:
- Metal parts cannot be broken or cracked, and must be securely mounted.
- Rubber parts must have no abrasions, bulges, or cuts.
- Parts that hold fluid or air cannot be leaking.
The pre-trip inspection is also a verbal test. Students must say at least two things about every item they inspect, point to or touch every item, and mention any damaged items to the tester.
The test is divided into three forms.
- Form A covers the front of the tractor, engine compartment, and coupling.
- Form B covers the side of the tractor, rear of the tractor, and coupling.
- Form C covers the coupling and the entire trailer.
Some states require the full form, which covers the entire tractor and trailer. Requirements vary by state.
On this page:
Front of the Vehicle
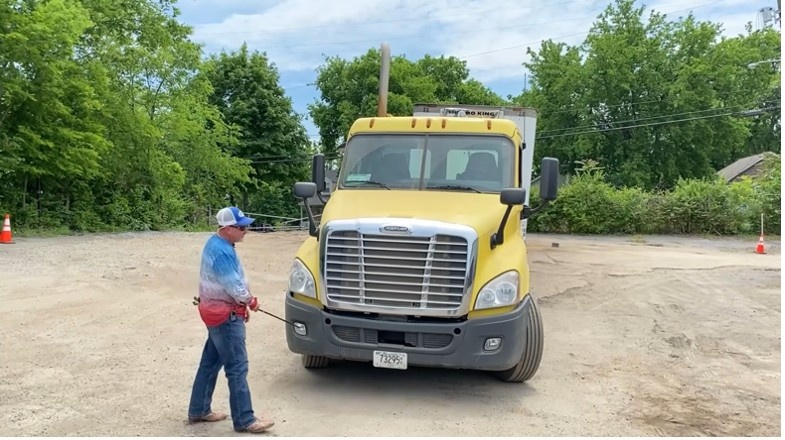
The inspection starts at the front of the truck. The driver checks all lights, including headlights (both high and low beams), turn signals on both sides, clearance lights, flashers, and all reflectors. Lights must be clean, not missing or broken, and the correct color. Red belongs on the rear; amber belongs everywhere else.
While at the front, the driver checks under the vehicle for any fluid on the ground that would indicate a leak.
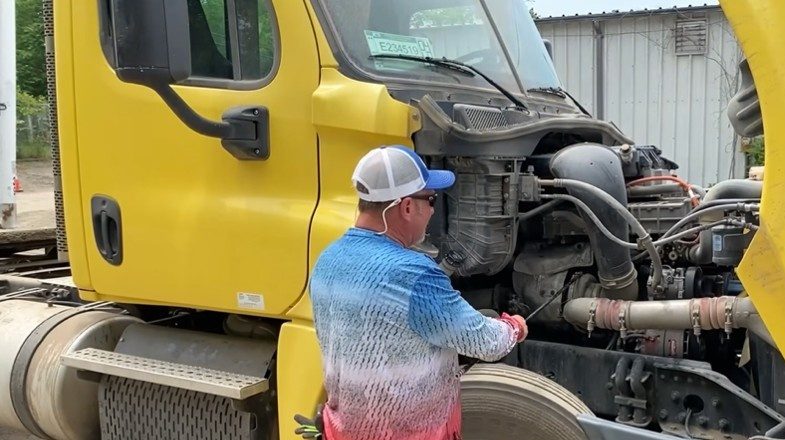
Passenger Side Engine Compartment
After opening the hood, the driver moves to the passenger side of the engine compartment. The inspection begins with a general overview: checking the condition of all hoses for damage or leaks, and scanning the ground for puddles or drips.
From right to left, the driver checks the following:
Radiator: The radiator transfers heat from engine fluid to the outside air, keeping the engine cool. The driver checks that it is mounted securely and that the radiator and its hoses are not damaged or leaking.
Alternator: When the engine runs, the alternator charges the battery and powers electrical systems. The driver checks that it is securely mounted, all wires are fastened and undamaged, and identifies whether it is belt-driven or gear-driven. Belt-driven alternators must have a belt that is snug, not frayed or cracked, with no loose fibers or signs of wear. Belt play must not exceed 3/4 of an inch. Gear-driven alternators must be described as operating properly, not damaged, not leaking, and mounted securely.
Exhaust: The driver inspects the exhaust from the manifold forward, checking that it is connected tightly, mounted securely, has no loose clamps, and shows no signs of leakage such as rust or carbon soot. The rest of the exhaust system is checked as the inspection continues around the truck.
Windshield washer fluid reservoir: This is not a testing requirement, but it is checked in real-world practice. The reservoir should be mounted securely, not leaking, and at the proper level.
Driver Side Engine Compartment
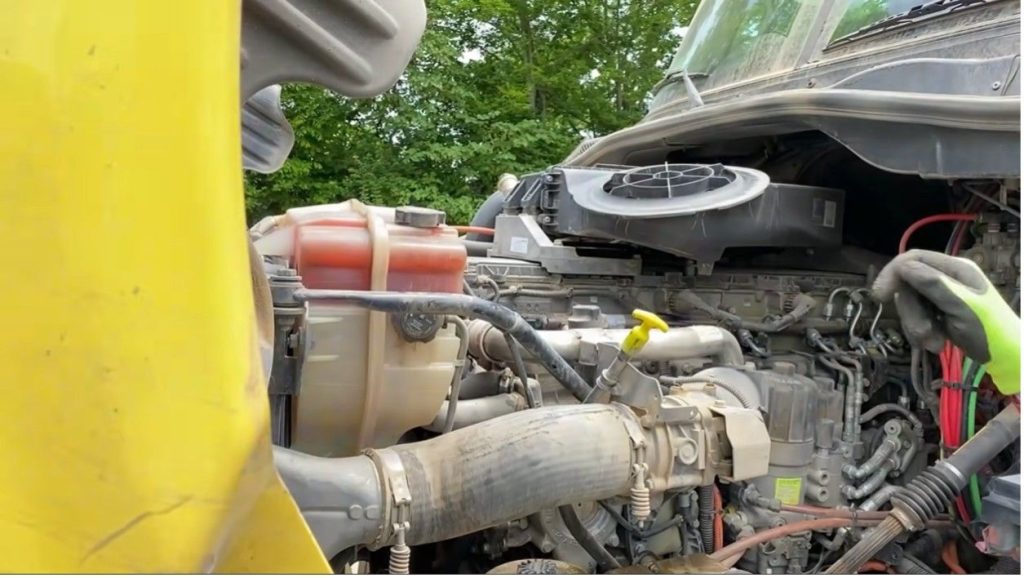
The driver moves to the other side of the engine compartment and repeats the general overview: checking hoses, looking for leaks, and scanning for anything that looks wrong.
Radiator (driver side): The driver checks this side of the radiator for secure mounting and no damage or leaks.
Coolant reservoir: The coolant reservoir must be mounted securely, have no leaks, and show a fluid level between the minimum and maximum marks.
Water pump: The water pump regulates coolant flow from the radiator to keep the engine from overheating. The driver checks that it is mounted properly, not loose, and not leaking. Belt or gear drive rules apply the same way as the alternator.
Power steering reservoir and pump: The power steering system reduces the effort needed to turn the steering wheel. The reservoir must be mounted securely, not leaking, and filled to the proper level with the cap on tight. The pump must also be mounted securely and not leaking. Belt or gear drive rules apply.
Air compressor: The air compressor builds and maintains the air pressure needed to operate the air brakes. The driver checks that it is mounted properly, secure, and has no audible air leaks. Belt or gear drive rules apply.
Engine oil: The driver pulls the dipstick, wipes it clean, reinserts it, then pulls it out again to verify the oil is at a safe operating level.
Steering gear box and hoses: The steering gearbox transmits the driver’s steering input to the linkage that turns the wheels. The driver checks that it is securely mounted and not leaking, with no missing nuts or bolts, and inspects the power steering hoses for damage or leaks.
Steering linkage: The driver identifies the pitman arm, drag link, steering arm, and knuckle. The driver checks that they connect from the gearbox to the wheel, are not worn or cracked, that joints and sockets are not worn or loose, and that there are no missing nuts, bolts, or cotter pins.
Tie rod: The driver confirms it is mounted properly, secure, and not damaged or bent.
Leaf springs and mounts: Leaf springs support the vehicle and absorb road bumps. The driver checks for missing, shifted, broken, or cracked leaf springs; confirms mounts are properly secured and undamaged; and inspects U-bolts and bump stops for broken, missing, or loose bolts.
Shock absorbers: Shocks must be properly mounted, secure, and not show any fluid leaks. Mounts are checked for missing or damaged bushings.
Brake hoses or lines: The driver checks all hoses or lines that supply air or hydraulic fluid to the brakes, looking for fraying, cracks, wear, and unsecured or leaking couplings. If the truck uses electric brakes, the electric lines must not be worn or cracked.
Brake chamber: The driver inspects the brake chamber for cracks and dents, confirms it is mounted securely, listens for audible air leaks, and checks for loose or missing clamps.
Slack adjuster and push rod: These must be mounted securely and not bent, broken, loose, or missing parts. With brakes released, pulling the slack adjuster by hand should not move the push rod more than one inch.
Drum and linings (or rotors and pads): The driver checks drums or rotors for cracks, dents, holes, and missing bolts; confirms brake linings or disc pads are not dangerously thin; and checks for contaminants like grease or oil.
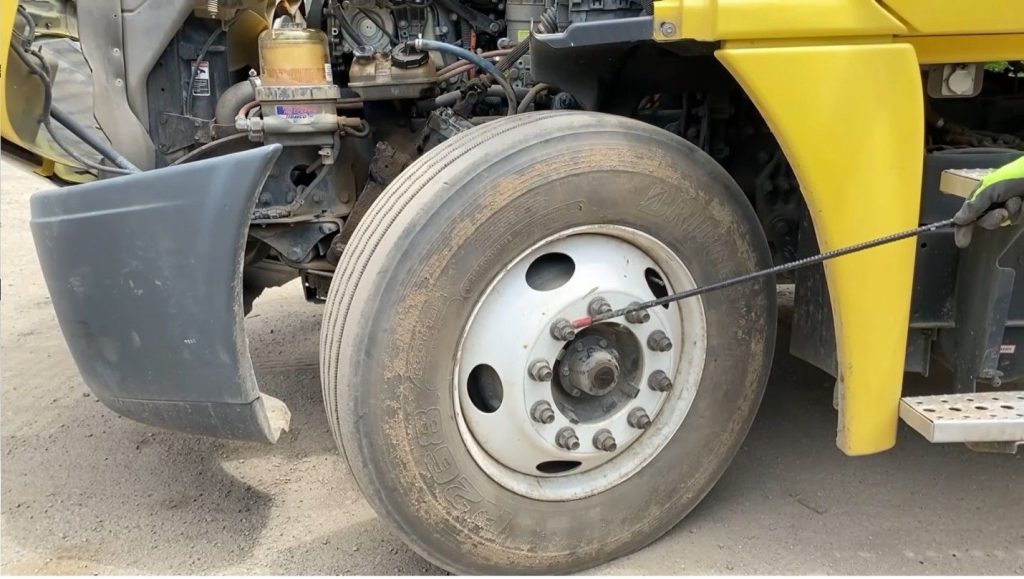
Wheels: Starting with the rim, the driver checks both inside and outside for damage, confirms there are no welding repairs, and looks for rust trails that would indicate a loose rim. The driver then checks the tire, looking for evenly worn tread, no cuts or damage on tread or sidewalls, no illegal patches, and no missing or damaged valve caps or stems. Front tires require a minimum tread depth of 4/32 of an inch, confirmed with an air gauge. Lug nuts must all be present, not loose (rust around lug nuts is a warning sign), and show no cracks or distortion around bolt holes. The hub oil or axle seal must not be leaking; if a sight glass is present, the oil level must be adequate.
Side of the Truck
The driver starts with a general visual scan of the side for any damage, then moves to the lights and reflectors. All must be clean, not missing or broken, and the correct color.
Door and mirror: The door must open and close properly, the hinges must be secure with seals intact, and the window must be free of damage. Mirrors must be properly adjusted, with all brackets securely mounted, undamaged, and free of excessive dirt.
Steps: Steps must be properly mounted, secure, not cracked or damaged, and clear of loose objects.
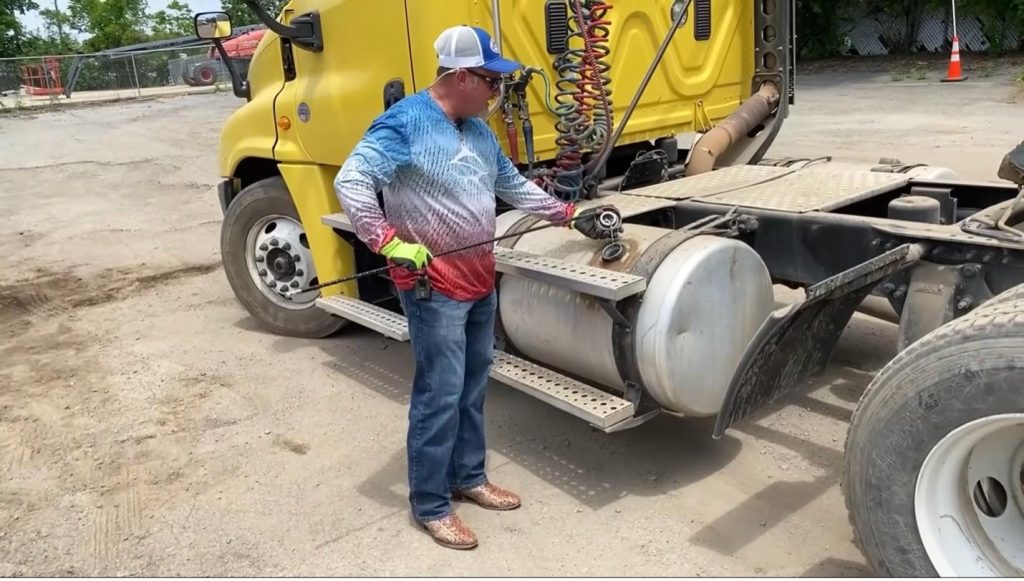
Fuel tank: The driver checks that the tank is secure, the fuel cap is tight, the safety chain is present, the rubber gasket is in good condition, and there are no leaks from the tank or cap.
Cargo doors (if equipped): The driver checks for damage, confirms they open, close, and latch properly.
Rear of the Truck (Between Cab and Trailer)
Lights and reflectors: The driver checks that all are clean, none are missing or broken, and colors are correct. Red belongs on the rear; amber belongs on the front.
Catwalk and steps: The catwalk must be securely bolted to the tractor frame, solid, and clear of loose objects. Any storage area must be secured to the tongue, and cargo stored there must be secure.
Frame: The driver checks both frame members for bends and looks for loose, cracked, bent, or missing cross members.
Driveshaft: The driveshaft delivers power from the engine transmission to the wheels. The driver confirms it is not bent, twisted, or cracked, and that the U-joints are secure and free of foreign objects.
Exhaust (continued): The driver finishes inspecting the exhaust from where it was left off, checking all the way to the top of the stack or tip for tight connections, secure mounting, no loose clamps, and no signs of damage or leakage.
DEF system (if equipped): The DEF tank must not be cracked or damaged, must be mounted securely, and must not be leaking. The fluid level must be above 1/8 of a tank, confirmed via the dashboard indicator inside the cab.
Rear of the Tractor
Suspension: The driver checks for missing, shifted, broken, or cracked leaf springs; broken or distorted coil springs; and air ride components (shocks and airbags) for damage and leaks. Torque arm and spring mounts must be in place with no cracked or broken hangers, no missing or damaged bushings, and all airbag mount bolts present. U-bolts are checked for broken, missing, or loose bolts. If the vehicle uses torsion bars or torque arms instead, they must not be damaged and must be mounted securely.
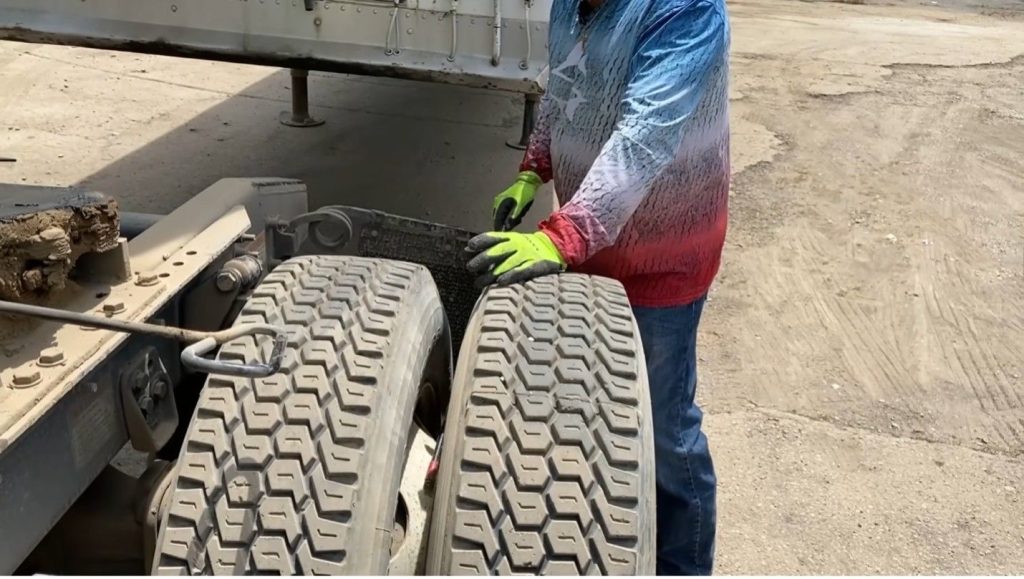
The rear axle brake system, wheels, and tires are inspected the same way as described in the driver-side engine compartment section. Rear tires require a minimum tread depth of 2/32 of an inch (compared to 4/32 for front tires). Dual rear tires must have no debris between them, and the rims must sit flush against each other with zero space between them.
If there is more than one rear axle, each additional axle is inspected the same way.
Splash guards: The splash guards behind the rear axle must not be damaged and must be mounted securely.
Coupling System
The coupling system connects the tractor to the trailer.
Air and electrical lines: Air lines (glad hands) must have no bulges or cuts, and rubber grommets on the glad hands must not be damaged. Electrical lines must have no broken pins, an intact cover, and no cuts. The driver inspects all connections for damage and leaks.
Side skirt and apron: The side skirt and apron must not be damaged or bent, and must be securely mounted. There should be no gap between the apron and the skid plate.
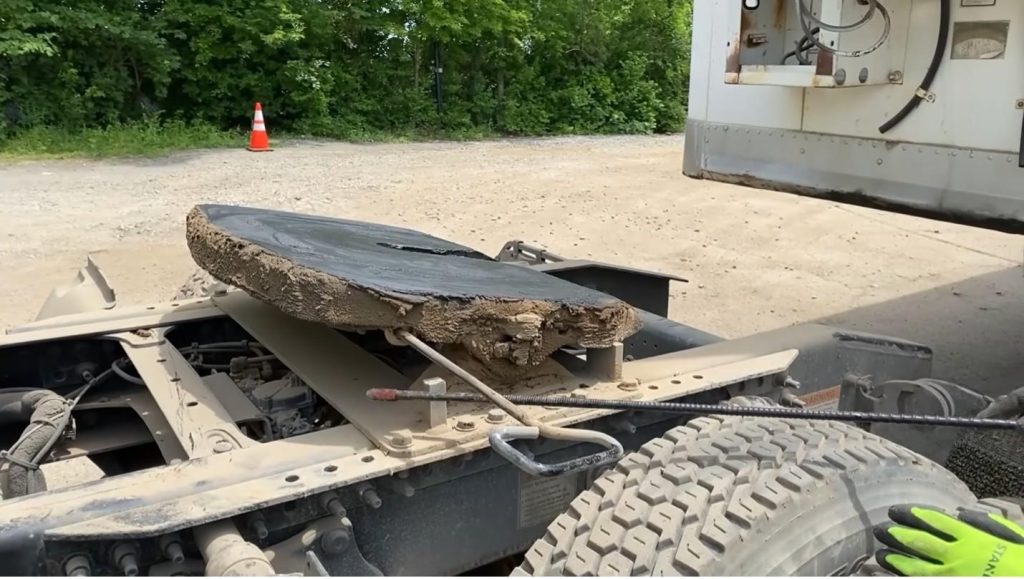
Skid plate and fifth wheel: The skid plate must be properly mounted to the platform with all bolts and pins secure, and it must be properly greased. The fifth wheel track (sliding or fixed) must be properly mounted and secure, with no missing or loose mounting bolts. The slider pin must be in the locked position. If the unit has a safety latch, the release arm must be engaged and the latch in place. Air-powered fifth wheels are checked for leaks. The fifth wheel must be positioned so the tractor will clear the landing gear during turns.
Kingpin and locking jaws: The kingpin must be properly mounted, secure, not damaged, and not bent. The locking jaws must be in the locked position and completely around the kingpin.
Front of the Trailer
Clearance lights and reflectors: Lights must be in proper working order, amber in color, not broken, and securely mounted. Reflectors must be the correct color, mounted properly, and not broken.
Header board or bulkhead: The header board must be secure, free of damage, and strong enough to contain cargo. Canvas or tarp carriers must be mounted and fastened securely. On enclosed trailers, the front area is checked for signs of damage such as bulges, holes, or missing rivets.
Side of the Trailer
Lights and reflectors: Reflector tape on the trailer side must be present and affixed securely. Clearance and turn signal lights must be clean, not broken, and amber in color. If equipped with an ABS light, it must be securely mounted and free of damage. The driver notes that it will be checked for proper function during the in-cab inspection.
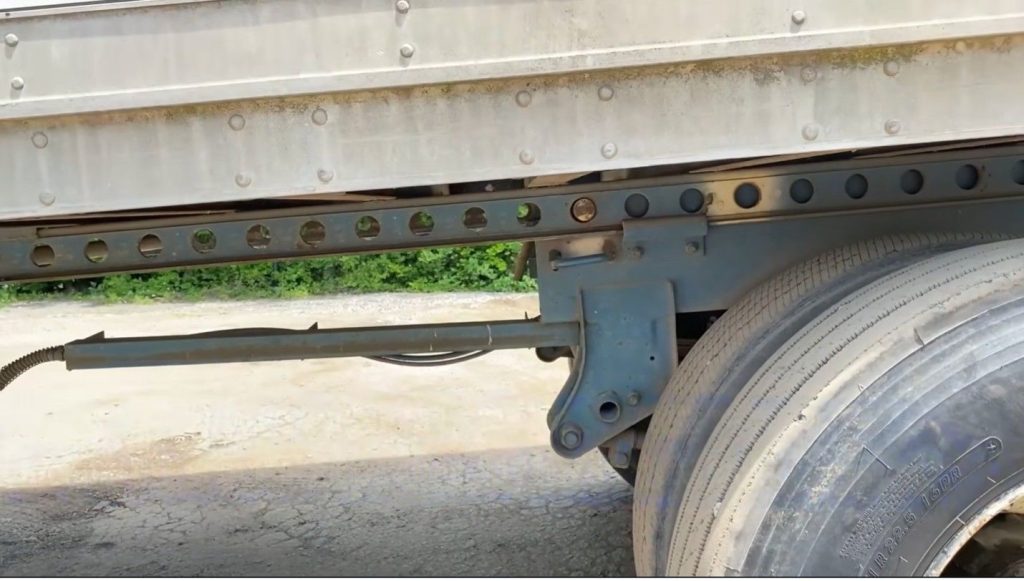
Landing gear: The landing gear keeps the trailer level when it is not attached to a tractor. The driver checks that the landing gear, cross member, and bracing are properly mounted, secure, not
damaged, and not bent. All bolts must be present and not loose. The foot of the landing gear is also inspected for damage.
Underside cross members: All cross members must be present, not loose, not cracked, and not bent.
Tandem axle: The driver states whether this is a sliding or fixed tandem and confirms the frame is not damaged, bent, or improperly mounted. The locking pin and handle must both be in the locked position.
The trailer suspension, brakes, and wheels are inspected the same way as the tractor rear. Rear trailer tires also require a minimum tread depth of 2/32 of an inch. All lug nuts and hub seals are checked the same way.
Rear of the Trailer
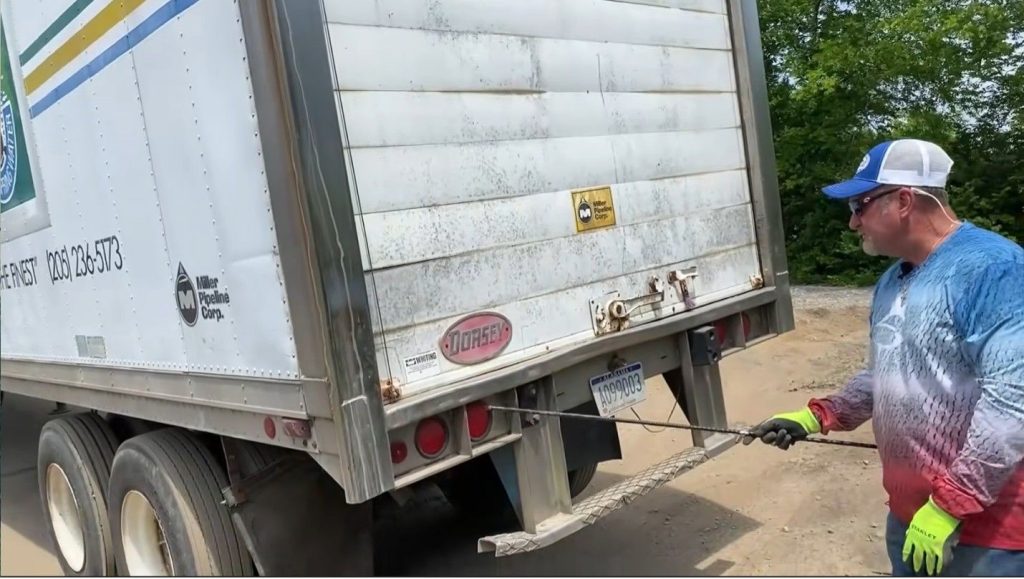
Lights and reflectors: Reflector tape must be present and affixed securely. Clearance lights and reflectors must be clean, not broken, and the proper color. Rear running lights (tail lights) must be clean, not broken, and red.
Doors, cargo ties, and lift: Doors and hinges must not be damaged, and must open, close, and latch properly. Ties, straps, chains, and binders must be secure. If a cargo lift is present, the driver checks for leaking, damaged, or missing parts and explains how the lift should be checked for correct operation. The lift must be fully retracted and latched securely.
Frequently Asked Questions
How long does a pre-trip inspection take?
A thorough pre-trip inspection typically takes 30 to 45 minutes, though experienced drivers may complete it faster as the process becomes routine.
What happens if a defect is found during the pre-trip inspection?
The vehicle cannot be driven until the defect is repaired. The driver must report the defect on a Driver Vehicle Inspection Report (DVIR).
Does every state have the same pre-trip inspection requirements?
No. State requirements vary. Drivers should verify the specific requirements for the state where they will test.
What happens if you fail the pre-trip inspection on the CDL test?
Failing the pre-trip inspection results in failing the skills test for that day. The candidate must reschedule and attempt the full test again.
Can you use a checklist during the CDL pre-trip inspection test?
No. The pre-trip inspection is performed from memory. Candidates are expected to know every item, what to look for, and what to say without any reference materials.
Do you have to touch every part during the CDL pre-trip inspection?
Yes. The examiner expects the candidate to physically point to or touch every item inspected. Simply naming parts without making contact will cost points.
What are the most common reasons drivers fail the pre-trip inspection?
The most common failures are missing items, not stating at least two things about each part, and skipping required color checks on lights and reflectors.
What does “properly mounted and secure” mean on the pre-trip inspection?
It means the part has no missing bolts or nuts, shows no cracks or damage at the mounting points, and does not move or shift when checked by hand.
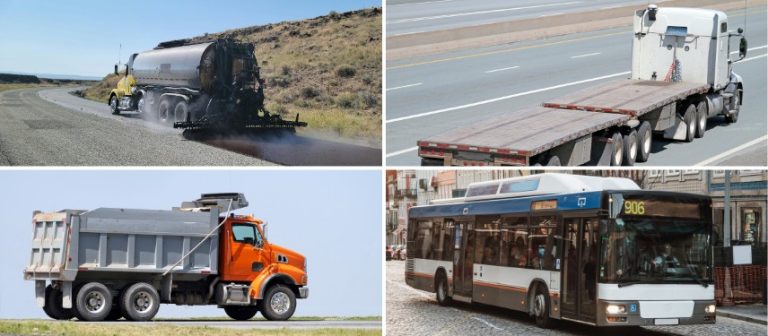
Is the pre-trip inspection the same for all Class A trucks?
The core inspection points are the same, but some components vary by vehicle. For example, not all trucks have a DEF system or front airbags, and some use gear-driven components where others use belt-driven ones.